 and a very nice unmolested AP50 came my way.

Suzuki AP50 Restoration
The classic sports moped from the 70's
Suzuki AP50 Resto Part 1
I thought about this project very carefully before I steamed in feet first as i usually do.
first thing whats about that is causing interest fizzys well we done that and to much of a good thing etc, so I thought I would embark on its rival. I saw on the internet a AP50 B in folkestone which is local to me and the bidding was about £260.00 Ha ha I thought to myself this could be the kiddy I watched with anticipacion as you do then bingo at the last minute the thing rocketed up to £1850.00. Damn that was that I gave up on that idea and then one evening I was on the phone to my mate up Mark in Coventry and said I was looking for an AP50, he replied "A or B model"? i said if I have a choice b model as my Gt550 is a B models as is my GT185 (well thats a C but they are the same)
I have one he said its been under my bench for years, can I buy is said well he replied I want some fizzzy tanks painted so we struck a deal.
the biggest box of fizzy tanks
and a very nice unmolested AP50 came my way.
I went and found some petrol stcuk it in her and away she fired second kick, Ok so the engine is sound.
I put the bike in the garage with the intention of getting a few parts together before doing the usual and stripping it bear and loosing everything.
I did manage to get a NOS exhaust pipe some new fork stanchions, I spoke to Michelle at Robinsons Suzuki and found that the rear mudguard and the headlamp bowls was still available so I got those on order, While they come over on the slow boat from Japan I thought I would get stuck into to the strip down.
So one Saturday afternoon i finished up at
work and headed for the garage. The wife and kids where out so it seemed like
the time to get on the case, it became apparent very soon int the strip that the
Ap was had a better build quality than the fs1e, I started with the front end
taking notes and pictures as I went.
 I removed the speedo turned it over and had a fit how many warning lights do
these have
I removed the speedo turned it over and had a fit how many warning lights do
these have time to leave that alone for now.
I removed the front forks and set them to
one side and then moved back to the engine.
 I was removing all the ancillaries
The pedal crank had been got at and the
cotter pin broken off,
 well
when you have restored as many Raleigh Chopper push bikes as I have one
needs a tool for the job,
well
when you have restored as many Raleigh Chopper push bikes as I have one
needs a tool for the job,
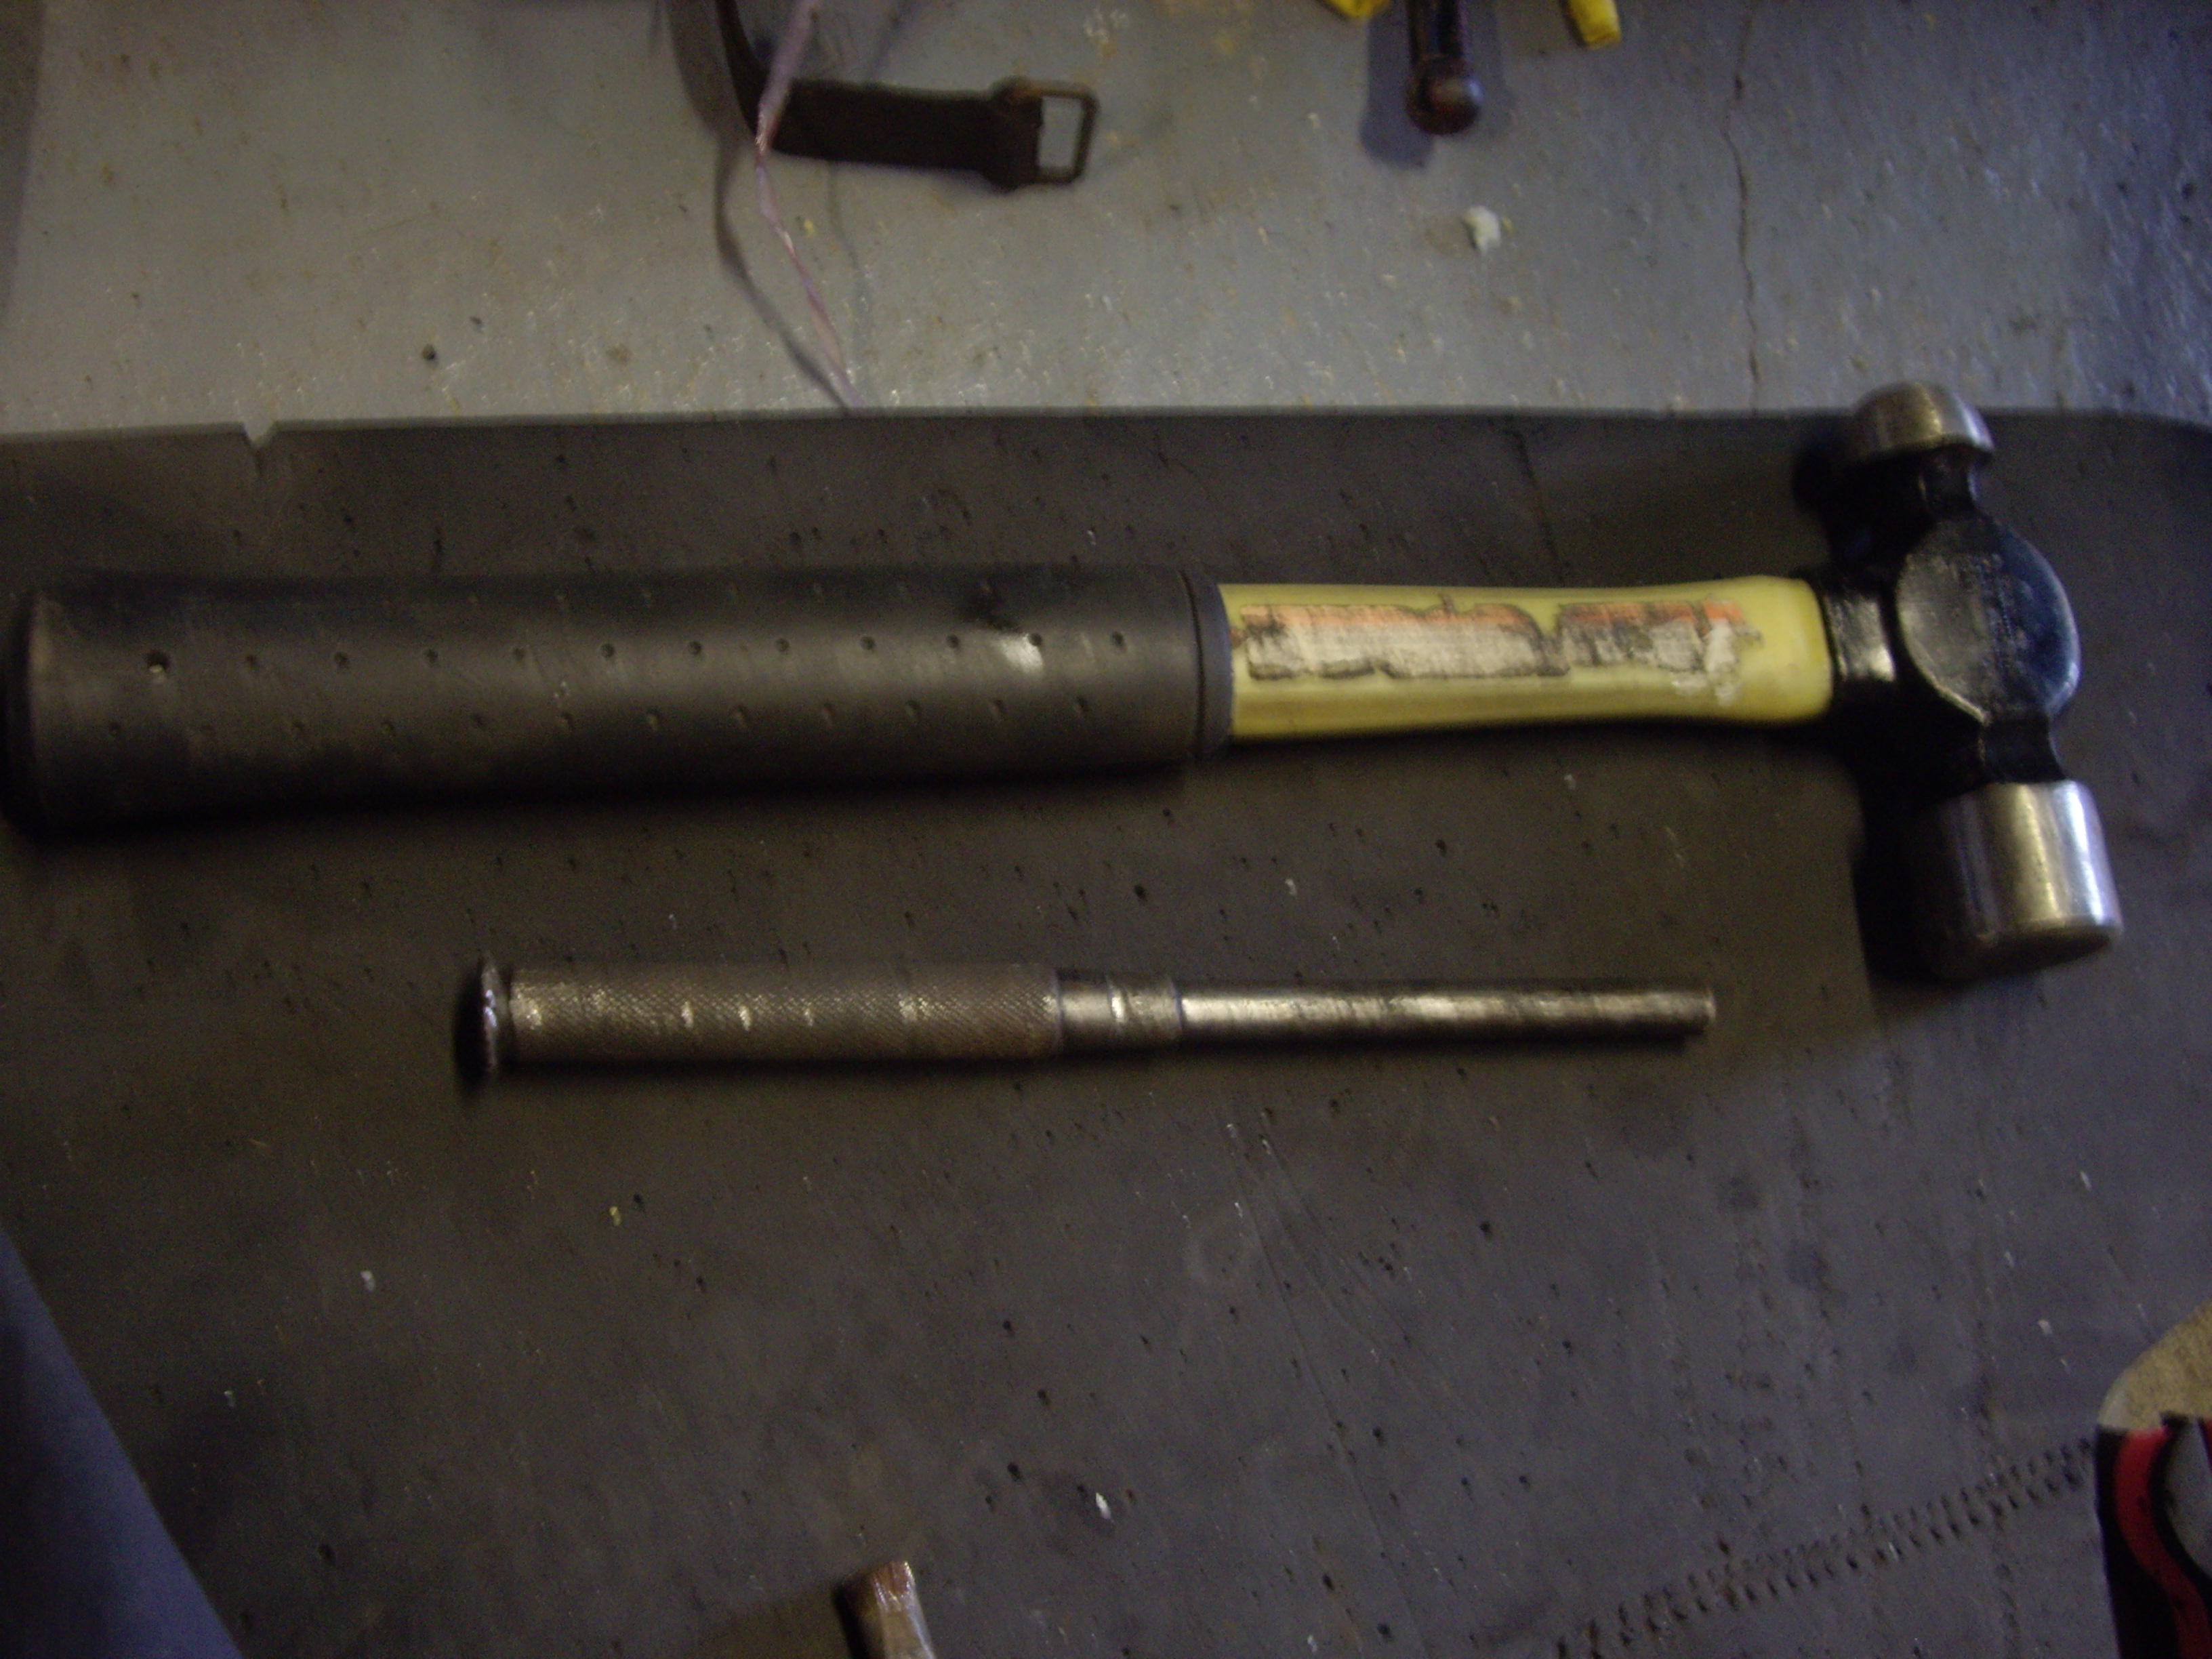 a good hammer and a punch one whack and that was out thank you very much
 and
about this time the little man arrived home and wanted to help so I gave him a
Phillips screwdriver and away he went to work,
and
about this time the little man arrived home and wanted to help so I gave him a
Phillips screwdriver and away he went to work,
 look at me dad!
I went indoors to get some drinks and when
I returned I found that he had undone a screw, Hmmm the one holding the oil tank
inspection window on and guess what ? Dad there is oil on the floor.
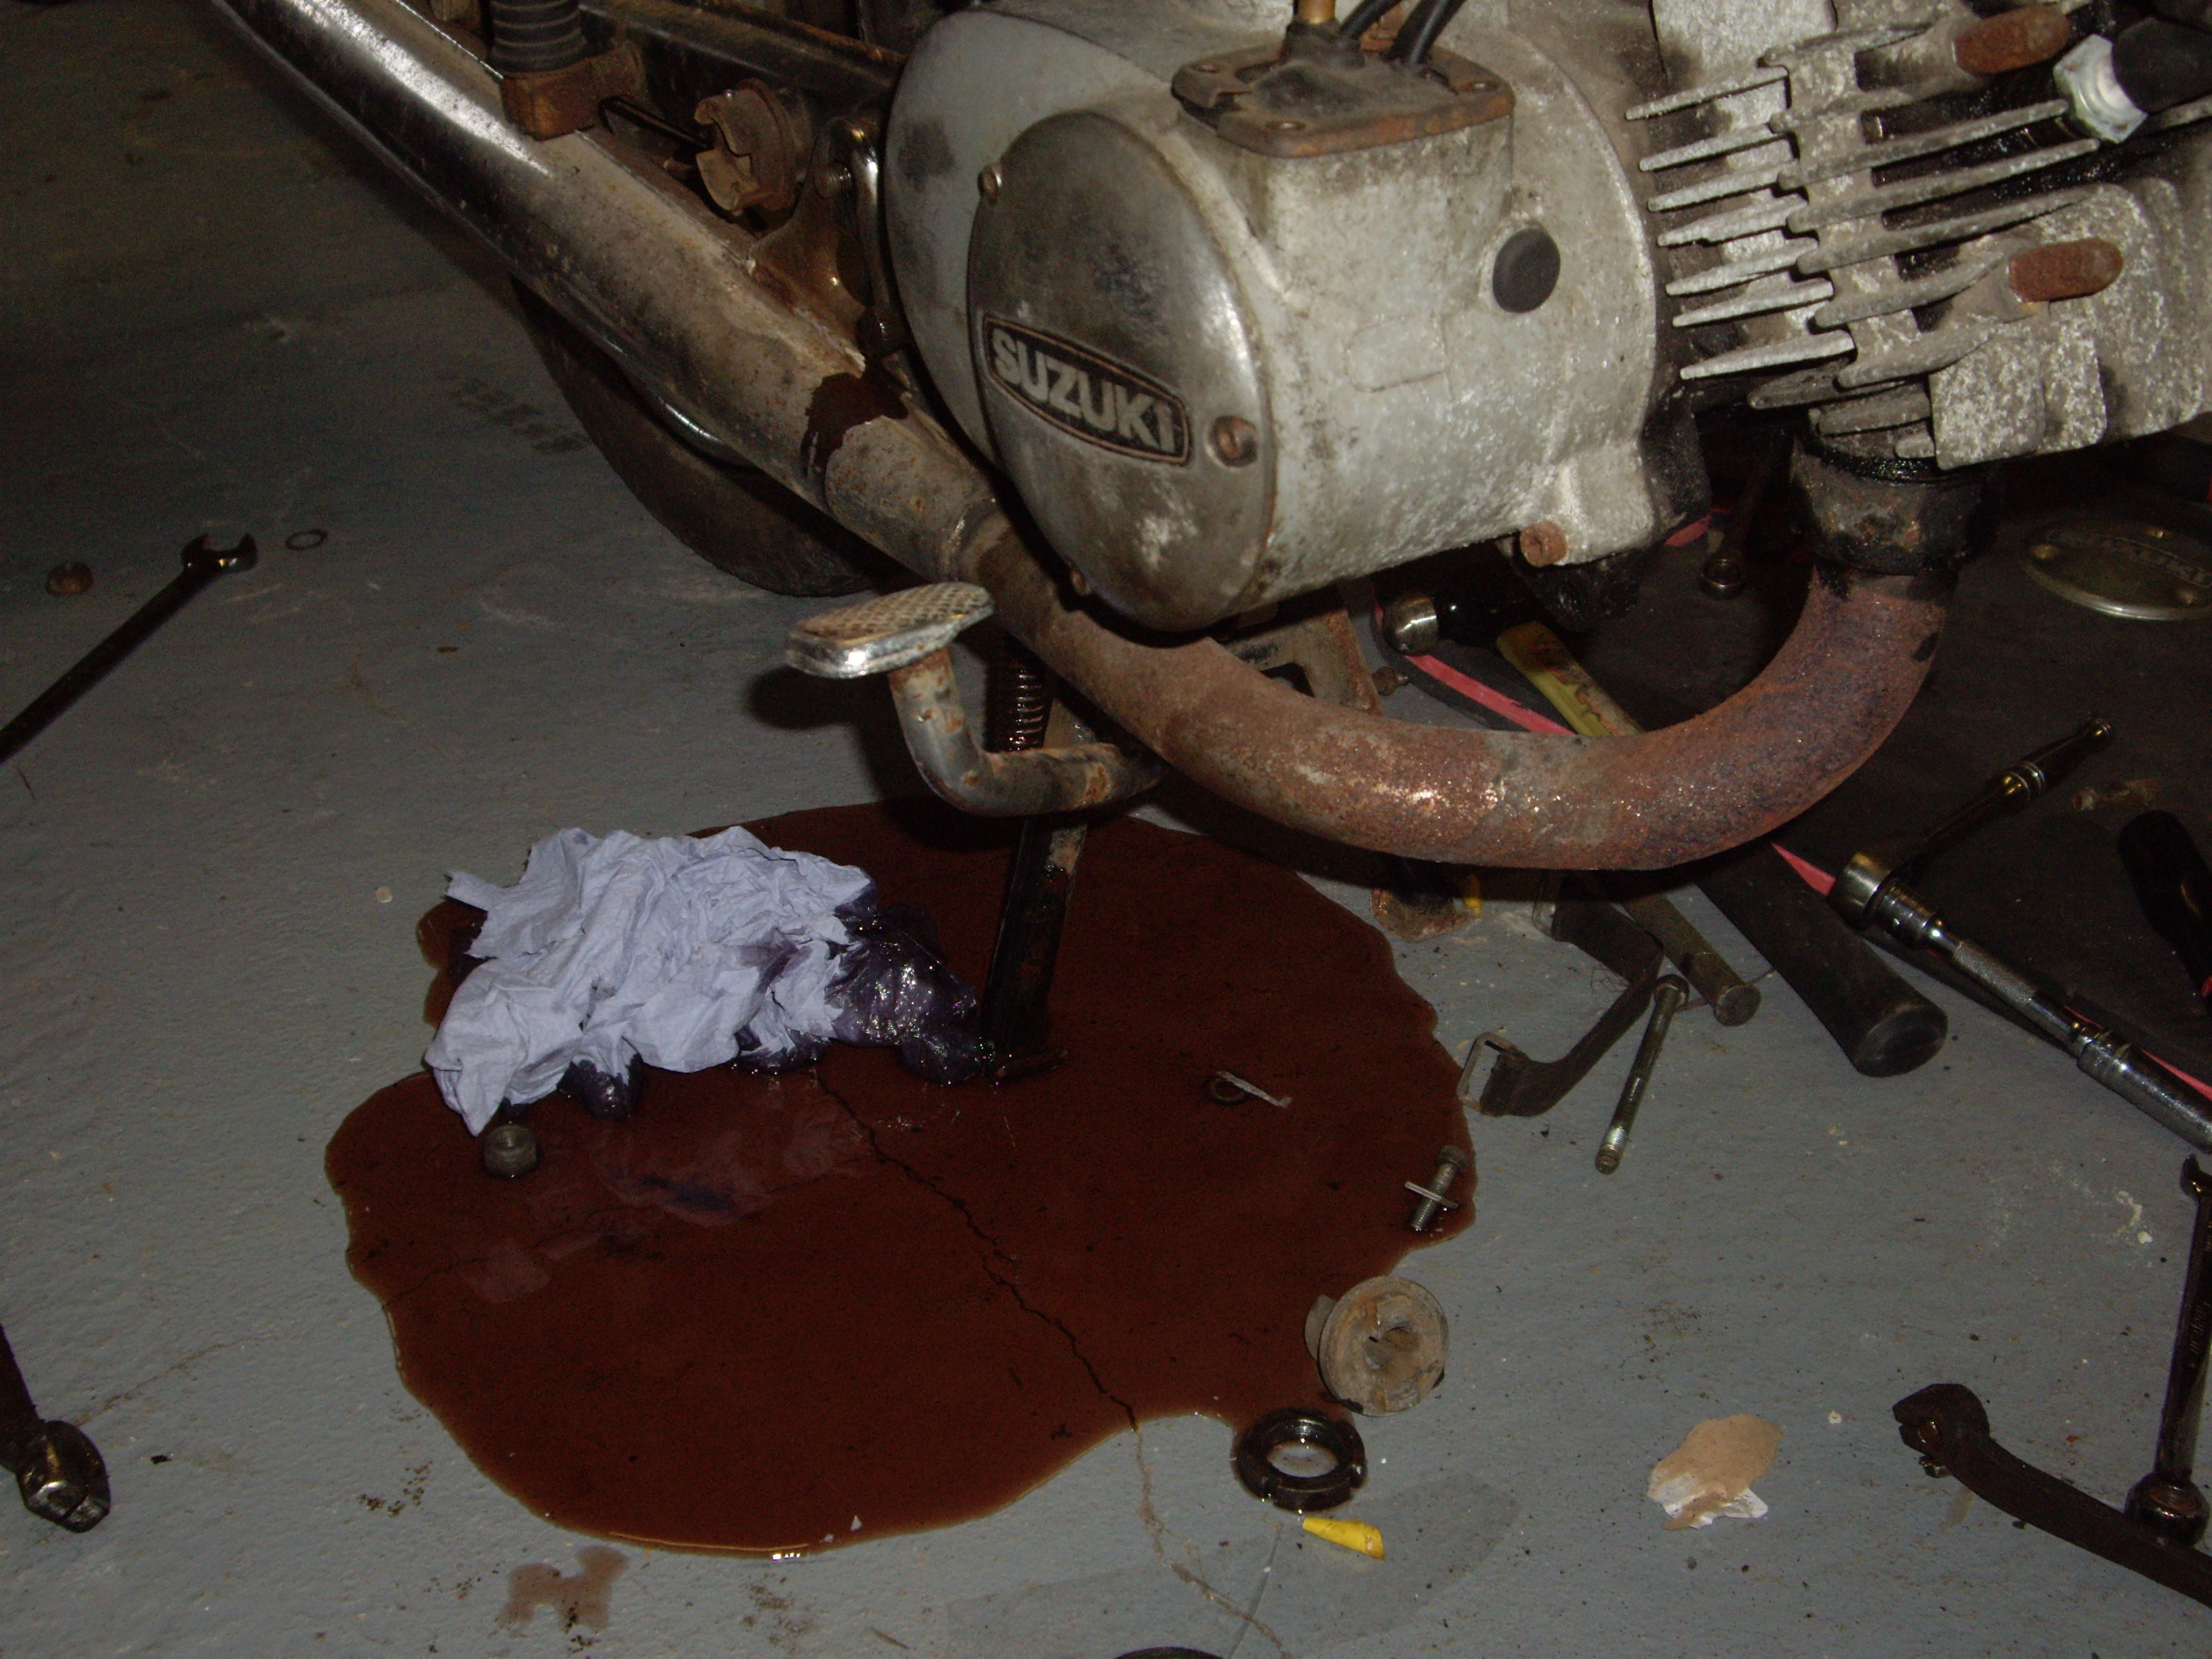 I quickly done the screw up and cleaned up the mess, I know turn your back on
them for two minutes and its inevitable something's going to happen, I then took back over and
lowered the heart onto the floor.
I quickly done the screw up and cleaned up the mess, I know turn your back on
them for two minutes and its inevitable something's going to happen, I then took back over and
lowered the heart onto the floor.
 now with the engine out the frame was looking very bear indeed
 I worked
backwards and in no order at all removed everything in a mangled chaos. The
wiring was a complete mess i couldnt even be bothered to attempt to detail it as
it was obvious something was wrong.
I worked
backwards and in no order at all removed everything in a mangled chaos. The
wiring was a complete mess i couldnt even be bothered to attempt to detail it as
it was obvious something was wrong.

I removed the seat which had been covered in leather and knowing how much of a
task a seat is going to be I will cross that bridge later but on close
inspection the seat pan and foam are in good condition.
So I now have stripped the frame down to
every little nut and bolt
 and am now deciding whether to powdercoat it of wet
paint it. They where painted from new and the frame is in good condition
and would powder very nicely, however I like shiny paint so I will ponder on
that for a while.
and am now deciding whether to powdercoat it of wet
paint it. They where painted from new and the frame is in good condition
and would powder very nicely, however I like shiny paint so I will ponder on
that for a while. The stand was a bit wobbly and I have found that on Fizzes this is caused by the
holes in the frame going oval but on the AP there is a nut and bolt holding the
stand and the bolt had worn away causing the problem.
The stand was a bit wobbly and I have found that on Fizzes this is caused by the
holes in the frame going oval but on the AP there is a nut and bolt holding the
stand and the bolt had worn away causing the problem.
 These fortunately are still available ex stock from dealers.
Time was getting on so I decided to call it a day and cleaned up the mess and came indoors got showered and relaxed with the AP50 parts book that was kindly lent to me by Dave Holland who seems to collect these sort of things.
I have made a page of part numbers for nuts and bolts and some bits and pieces that the bike needs.
I shall pop into Robinsons Monday morning with the list and get what I can on order, The discontinued parts I will have to source through the net.
Part 2
Wheels!
I have started to strip the wheels and it
seems that on the Ap the hubs are painted silver
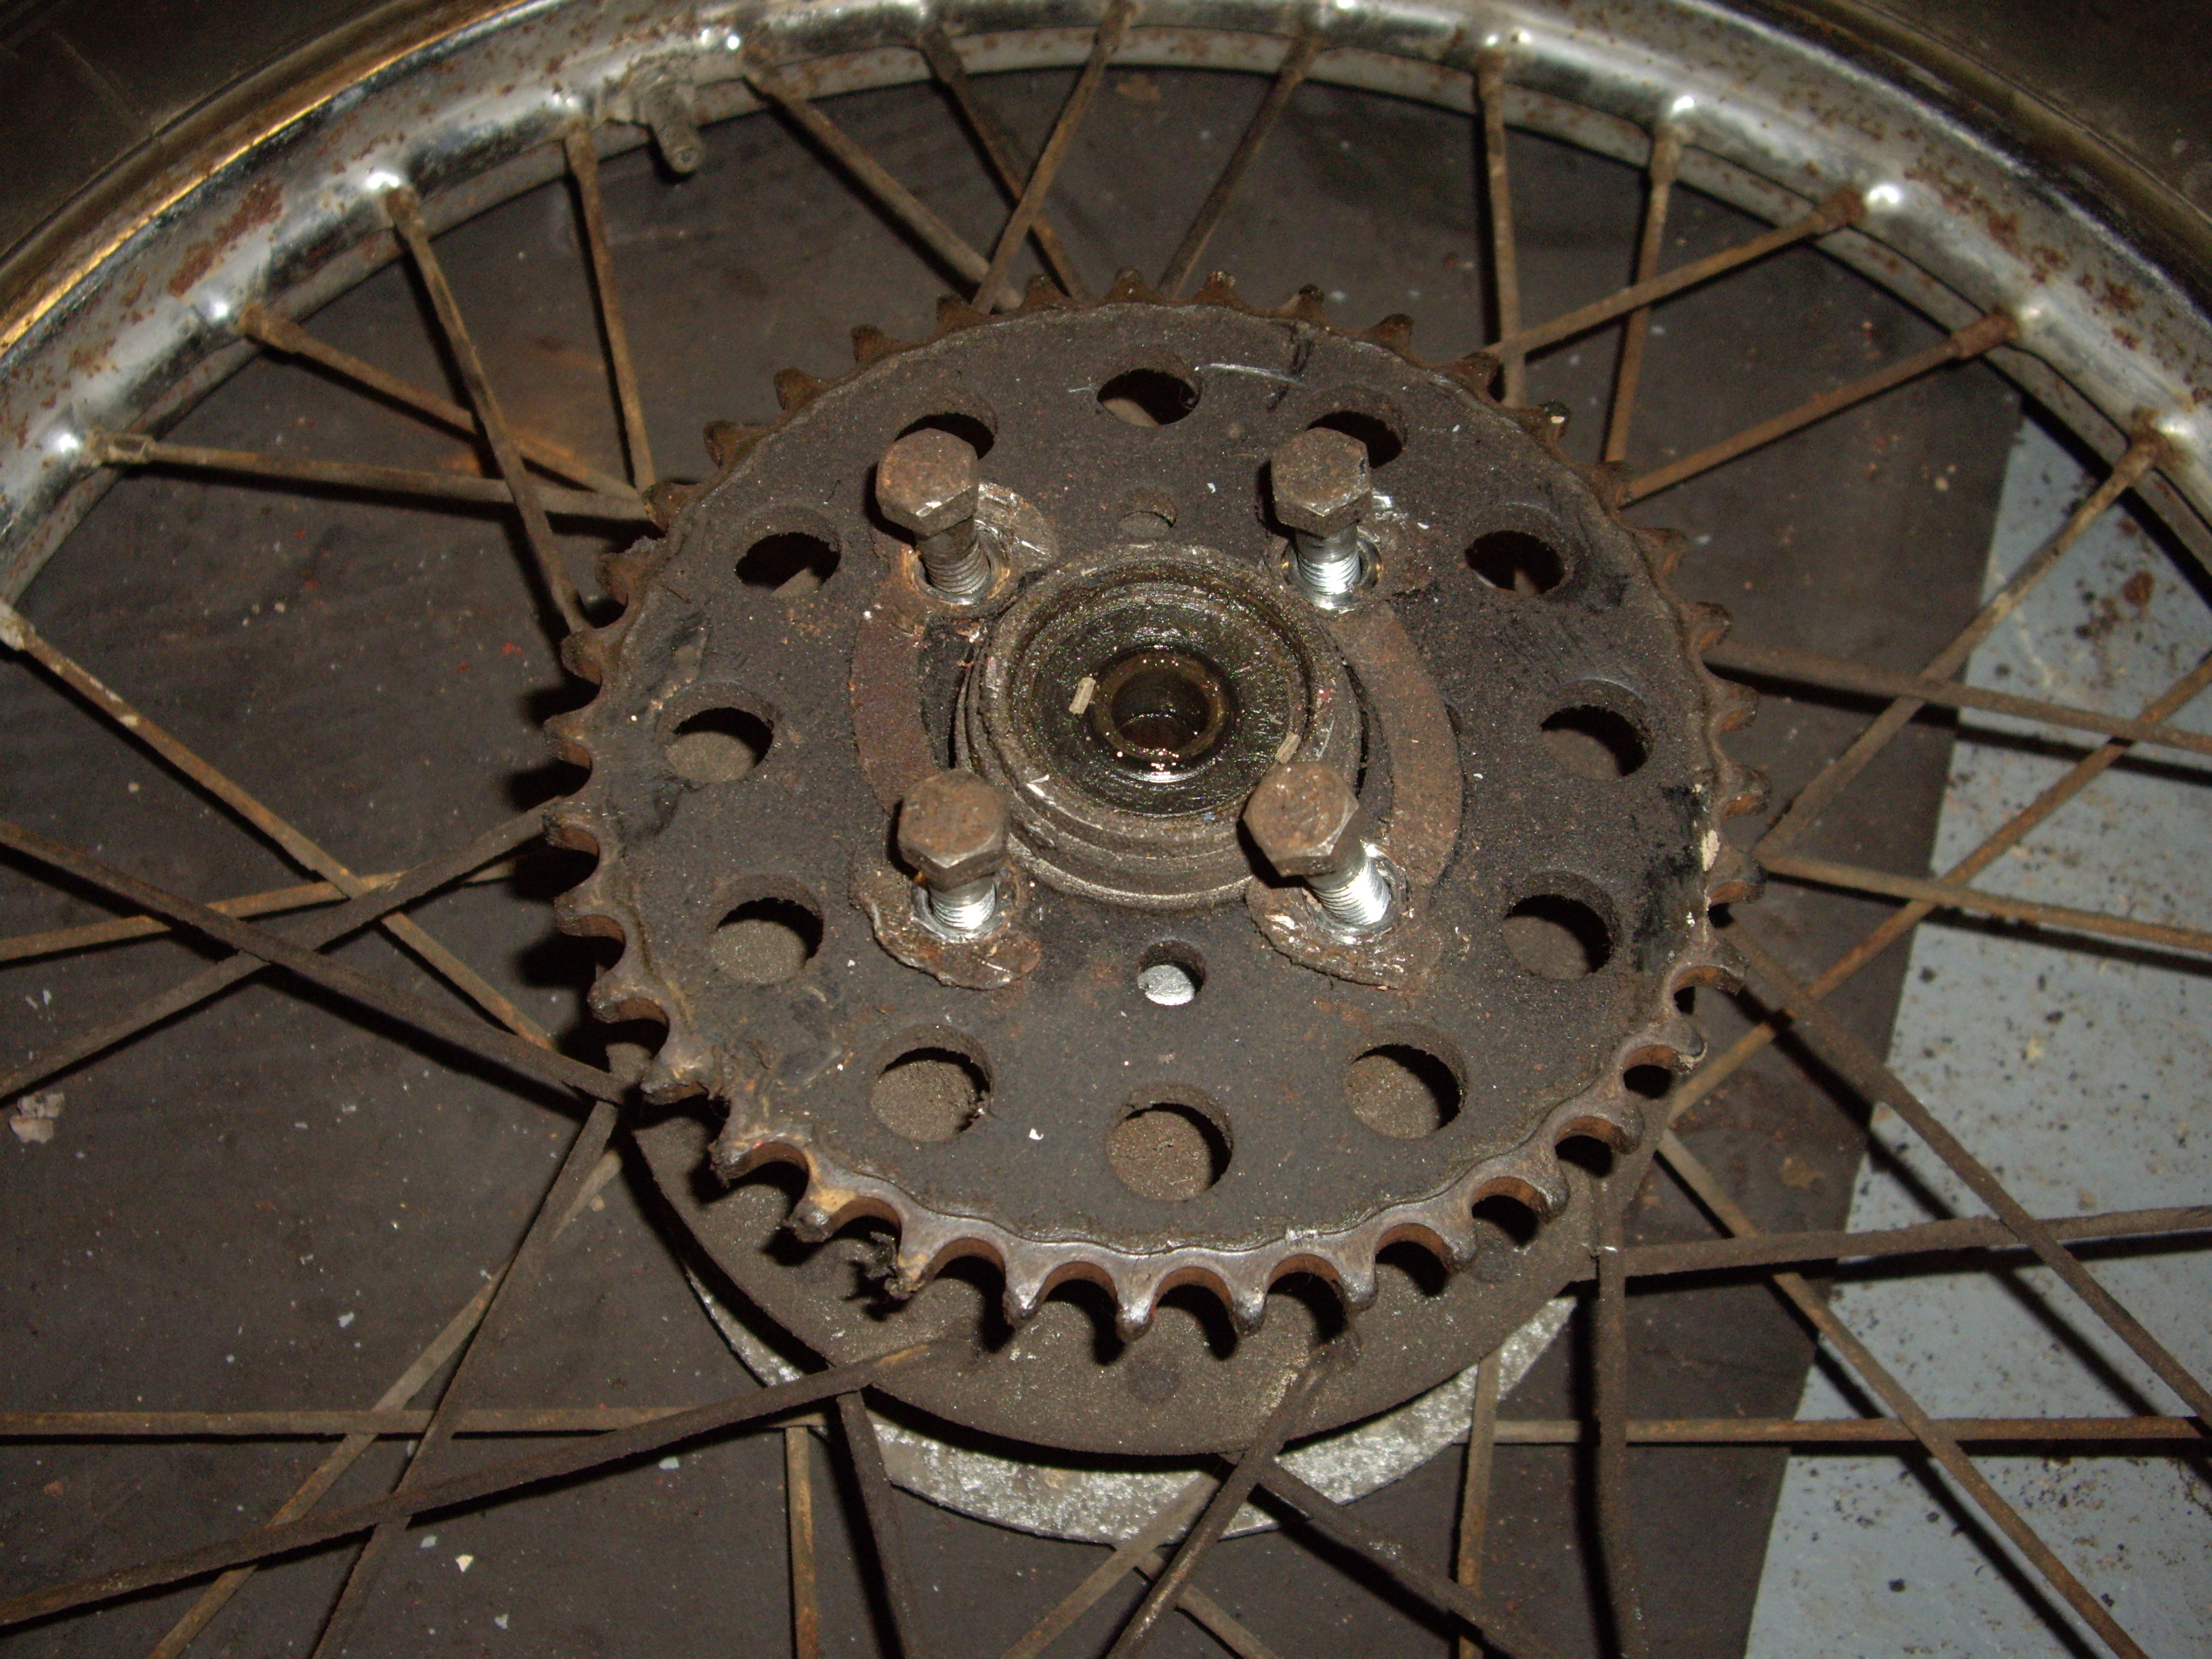 I will have to have a double check on that as
i do like a shiny polished hubs. Rims are still available from Suzuki
£25.50 each which is half of what it cost to chrome them so i have removed 2
spokes from each wheel and labelled them and put them in different place
just in case I loose a pair.
I will have to have a double check on that as
i do like a shiny polished hubs. Rims are still available from Suzuki
£25.50 each which is half of what it cost to chrome them so i have removed 2
spokes from each wheel and labelled them and put them in different place
just in case I loose a pair.
I will strip and do whatever is necessary to the hubs and then take the ne rims and the hubs to Paul Woods ex speedway rider who builds wheels very competitively and lives just down the road for the wheel rebuild.
part 3
Sorting out the chroming and painting
Part 4
Painting the tins!
This is the bit i like the best i have taken the tank oil tank etc to the sand blasters and am now ready to repair and primer the tins for the candy Florida blue paint.
I have been painting cars and bikes for 30 years and this all started with and aerosol can of black paint to spray my crash helmet black in 1976.
Part 5
The engine,
I have sent the engine minus the casings up to Mark Griffiths (Racoon Racing) for a rebuild he not only specialises in two strokes but loves AP's so I know he will put his heart and soul into it. We know that the engine is in perfect running order so hopefully its just a strip down, clean and new seals.
I am ok when it comes to painting unlike Rod who is an engine man so its roll reversal here anyway!
Thinking about it surely there is more to paint on a bike than just building an engine but what would I know?
Part 6
The rebuild